Psono general configurations
INDEX
1. Login Instructions
Introduce the following data on the respective fields
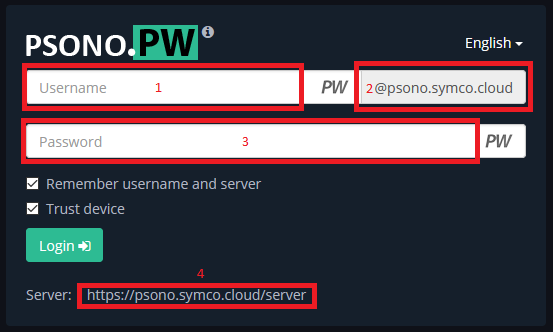
1. User name field for psono
2. Introduce the value "@psono.symco.cloud"
3. Password field
4. Introduce the value "https://psono.symco.cloud/server"
2. Change Password
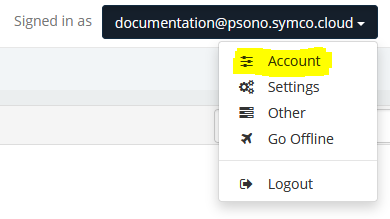
On the top of the page, click on your user.
On the menu, click on Account
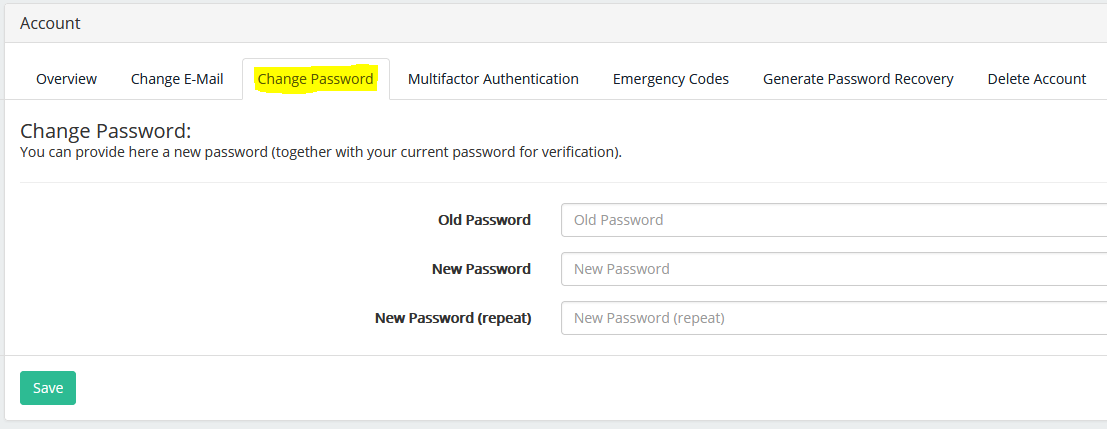
On the account settings, change to the "Change Password" Tab
Follow the steps: introduce your old password, then introduce the new password and re-enter it
3. Multifactor Authentication
On the top of the page, click on your user.
On the menu, click on Account
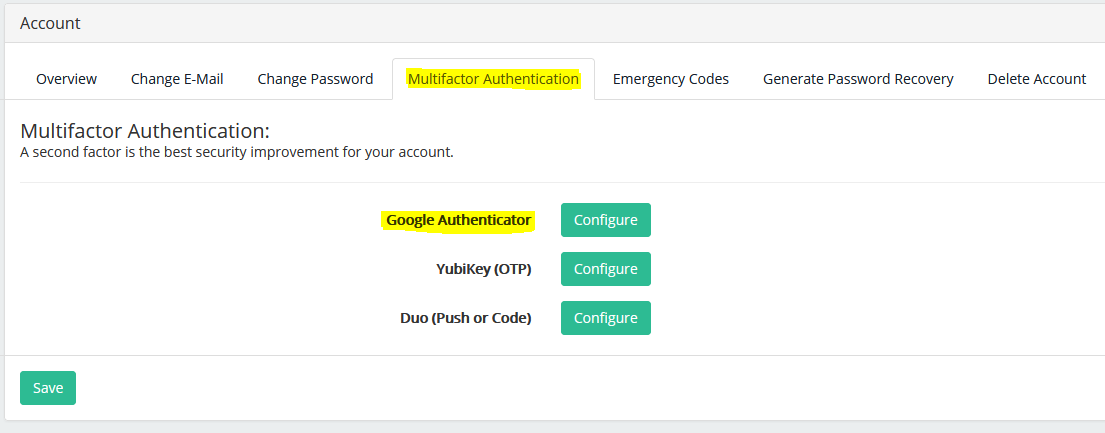
On the account settings, change to the "Multifactor Authentication" Tab
Configure Google Authenticator
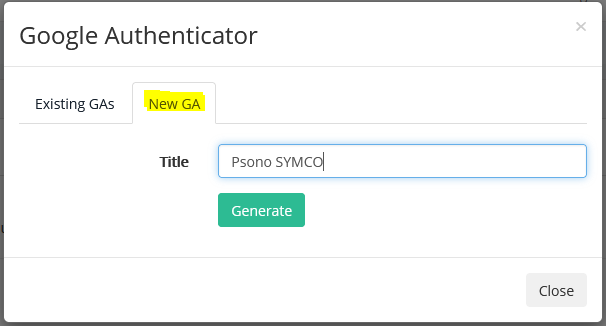
On the pop-up select the tab "New GA"
Give it a Title, as shown on the following example (Can be a different name), and click "Generate"
You can download the Google Authenticator APP from the following links
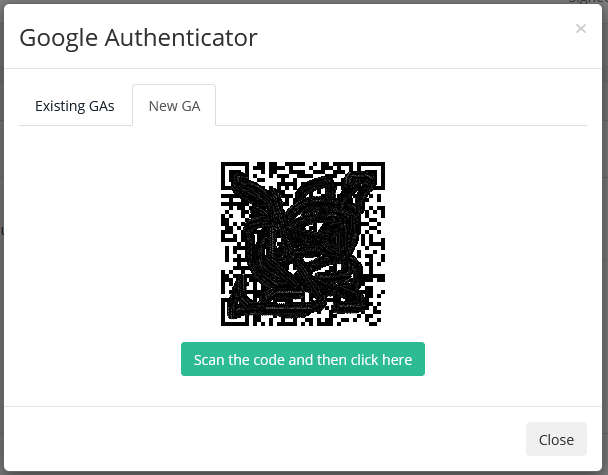
Open your Google Authenticator App, and scan the barcode
After configuring the App, click on "Scan the code and then click here"
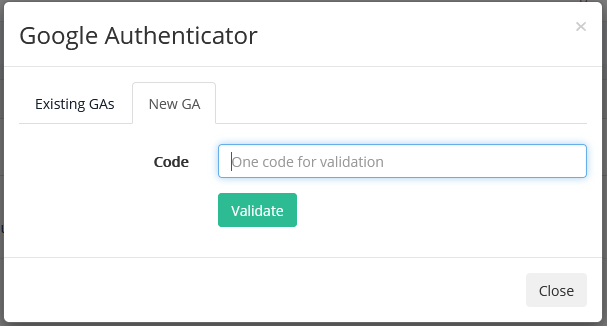
Insert the code generated on Google Authenticator into Psono Web pop-up
Click Save, and you can return to Psono Home Page
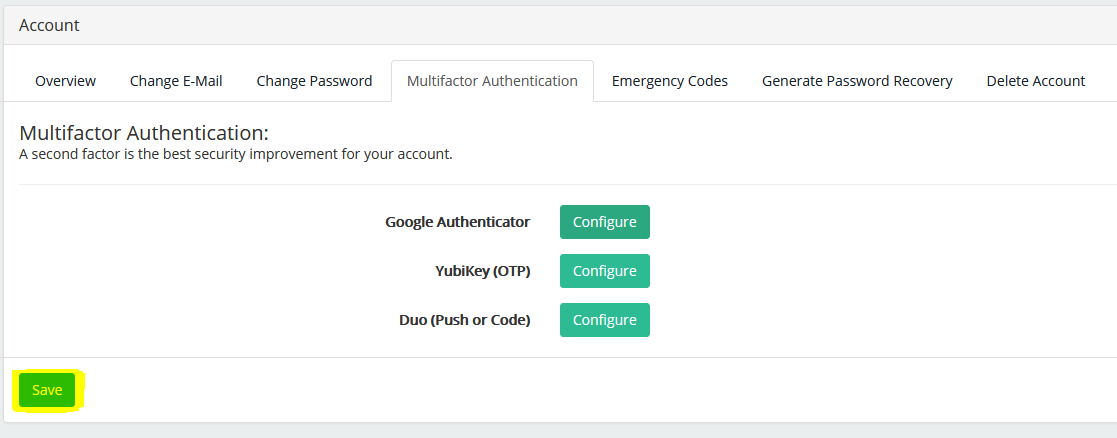
The configuration is done, now every time you need to login you will be asked to insert the Google Authenticator code.
4. Mobile App lockscreen
To configure the App Lockscreen, open your App on mobile phone and follow the following steps:
- Go to the Main Menu on the top left corner
- Click on "Settings"
- Click on "Lockscreen"
- Enter a passphrase of your choice, and click on "Active" checkbox, then click on Save
Now every time you enter the app, you need to enter the passphrase or use your fingerprint.
5. Create Groups
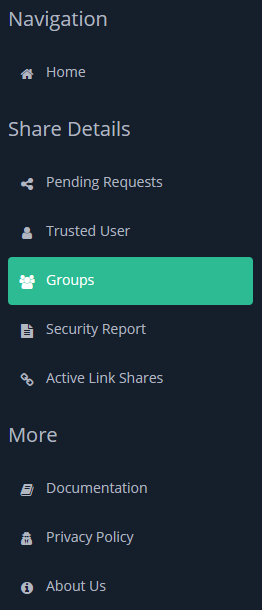
On the left menu click on "Groups"
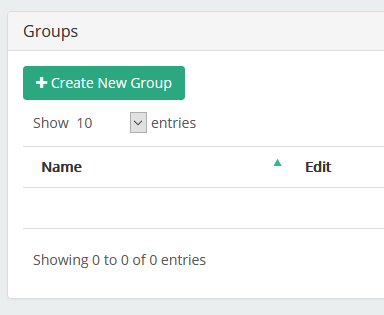
Now click on the button "+ Create New Group"
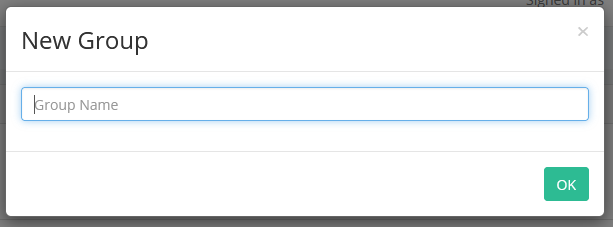
Give a name to the group
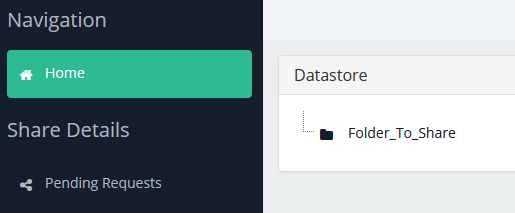
Now right click on the mouse and select "Share"
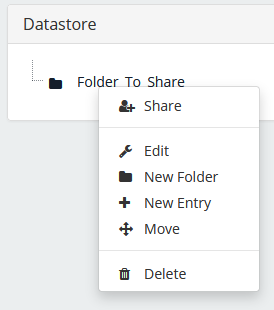
On the following panel, you can select if you want to share with another user, or share with a group of users
Share with an user
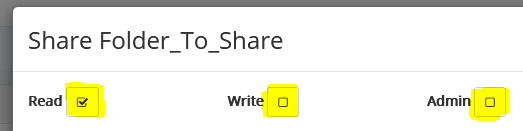
First define the rules to the user as showed on the following image:
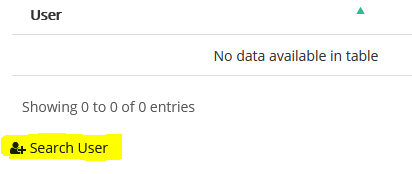
Second, search for the user that you want to share the folder:
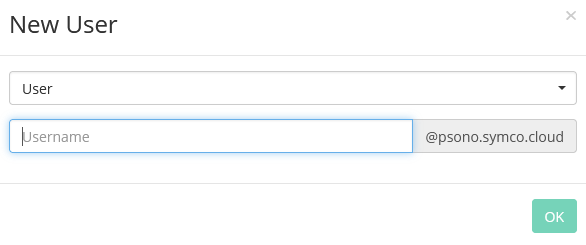
Share with a group
First select the "Group" separator and define the rules to the group as showed on the following image:
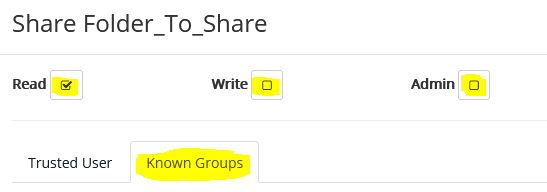
Second, select the group that you want to share the folder:
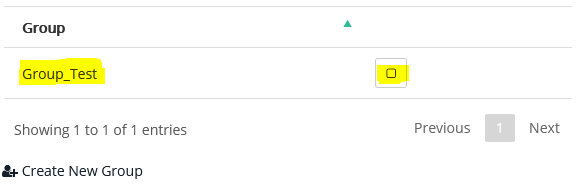
7. Browser Plugin
Add the plugin to your browser (Firefox or Chrome)
After install the extension, a icon appear on the task bar of your browser, as showed in the following example:

Click on the icon and fill as the following instructions:
username: <your-psono-username>
password: <your-psono-password>
Remember username and server (check always this field)
Trust device (check always this field)
Server Name: https://psono.symco.cloud/server